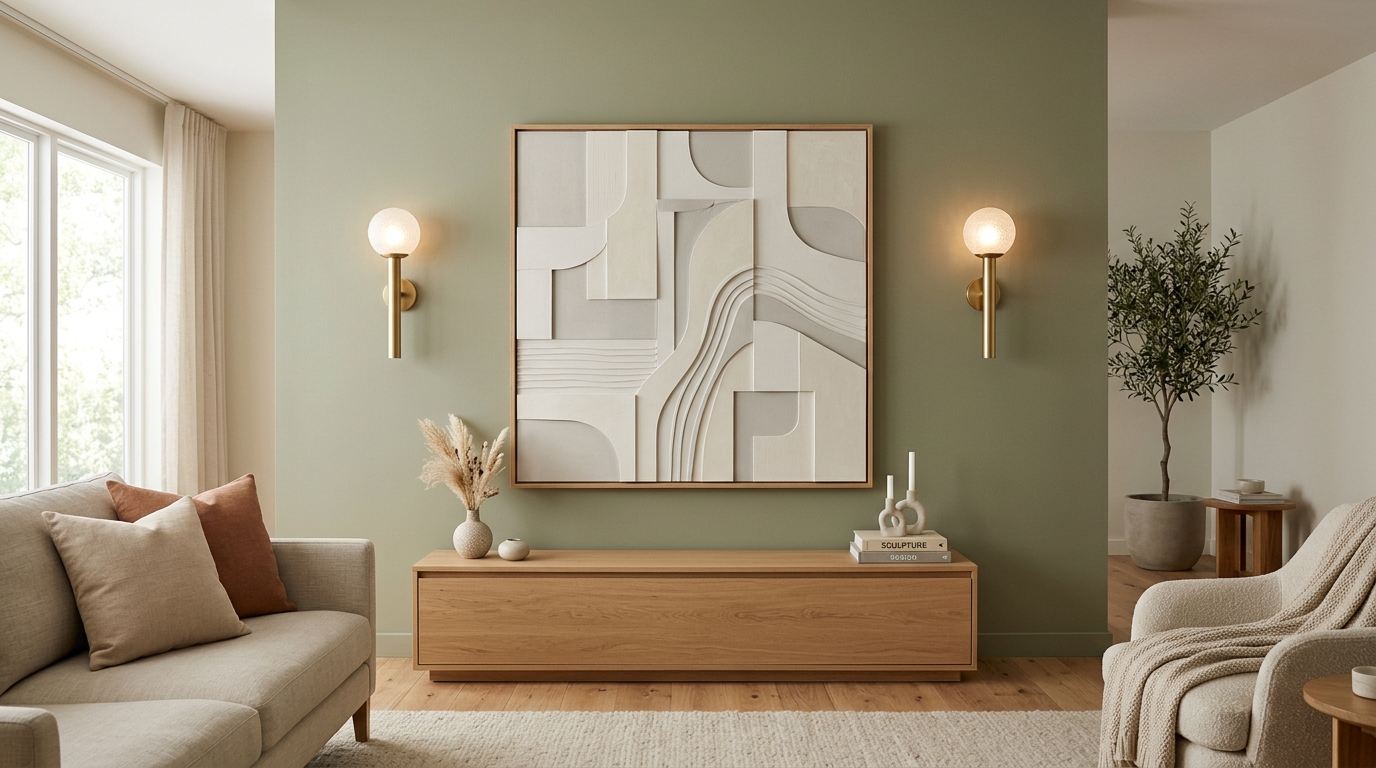
Wall Decoration: A Practical Plan for a Balanced Room
Start Wall Decoration with a Plan
Good wall decoration begins with deciding what the wall needs to do. It might create a focal point, display personal photographs, provide storage, or make an entryway more useful.
Buying individual pieces before making that decision can leave you with several attractive objects that do not work together. A short plan helps you spend on the parts that matter and leave useful empty space around them.
Start with one wall. You do not need to decorate every surface in a room at the same time.
Step 1: Identify the Main Viewing Area
Stand at the room's entrance, then sit where you normally relax. Notice which wall draws your attention from both positions.
That may be the wall behind a sofa, but it could also be a sideboard wall or a space opposite the entrance. Account for features that are already visually strong, including windows, televisions, and patterned curtains.
Example: If your television and shelving already fill one side of a small living room, the opposite wall may only need a single quiet artwork. A second large collection could make the room feel crowded.
Step 2: Choose a Main Element
Choose one starting point:
- A painting for colour, subject, or texture.
- A mirror where its reflection and practical use make sense.
- A photograph arrangement for a personal display.
- A shelf where you genuinely need storage or a changing display.
A decorative shelf still needs appropriate fixings and a sensible load. A mirror should reflect something you want to see. Think about function as well as appearance.
Step 3: Set a Small Colour Palette
Use the furniture and textiles as your starting point. Select a main neutral, a supporting colour, and an optional accent. This is a planning tool, not a requirement to restrict every object to three colours.
For a room with warm wood and beige upholstery, you could compare cream artwork, a wood-tone frame, and a muted olive accessory. If the room already has colourful curtains, repeat one of their quieter shades in the art.
Texture can add interest without introducing another strong colour. A raised artwork may be enough detail for a wall that would otherwise feel plain.
Step 4: Test the Whole Arrangement
Measure the combined width and height of the layout. Include frame sizes, gaps, and any shelf beneath the artwork.
Use paper outlines to compare alternatives. Photograph each option from the same position, then decide which feels more balanced. Leave the outline in place briefly so you can notice whether doors, switches, or daily routines create a problem.
When arranging several items, choose a clear relationship: matching top edges, a shared centre line, or a deliberately grouped outline. Random gaps can make otherwise compatible pieces feel disconnected.
Step 5: Budget for the Complete Setup
Include more than the artwork price. Framing, delivery, suitable hardware, and installation may affect the total. If the budget is limited, complete one well-planned area before adding more objects elsewhere.
Buying fewer pieces also leaves room to choose something you want to keep rather than filling every gap immediately.
Step 6: Check the Finished Wall in Daily Use
View the wall in daylight and under evening lighting. Check it while seated and while moving through the room. Adjust small items before adding more decoration.
Follow the maker's care instructions and choose fixtures suitable for the wall and object weight. Deal with damp or damaged surfaces before decorating.
Choose Your Starting Piece
For a wall centred around handcrafted texture art, explore SleekyOne. Begin with the artwork, then choose supporting objects that suit it. This gives your wall a clear starting point and makes later decisions easier.